Automated Setup of Software Development Environment
Modern software engineering involves many tools for automating and speeding up the process of building, testing and deploying the software we are developing. One interesting side effect is the potential of those tools when it comes to the set up of your local development environment.
Using tools like Ansible you can e.g. automate the setup of your IDE, the installation of necessary SDKs, the download of code repositories you are working in, and (nearly) everything you need for being able to work. This makes your setup reproducible.
This automated setup can be very handy when combined with virtualization. The main idea is to automatically create and setup a new virtualized software development environment whenever needed.
This blog post shows a sample setup of a new Ubuntu Desktop virtual machine created using Vagrant and provisioned by Ansible. The sample project is available on Github.
Prerequisites
The following explanation is based on a Windows 10 host operating system. The virtual machine used as software development environment is based on Ubuntu 16.04. Please make sure that Vagrant (tested with version 2.0.2) and Virtualbox (5.2.4) are installed on the host system. According to the download page of Virtualbox, the Guest Additions coming with version 5.2.6 of Virtualbox are not working properly on Linux guests with 3D enabled. Therefore Virtualbox 5.2.4 is used when writing this blog post.
In this sample setup it is not necessary to install Ansible, because Vagrant will try to take care of it.
Configure Ansible Roles
We will use Ansible for provisioning our guest system. Most of the logic will be served by existing roles provided by the community via Ansible Galaxy.
The sample setup consists of Intellij Idea as IDE, the Oracle JDK, Git, Maven and Docker.
This leads to the sample requirements.yml file shown below.
Vagrant will take care of downloading the required files.
- name: intellij-idea
  src: gantsign.intellij

- name: oracle-jdk
  src: gantsign.java

- name: git
  src: geerlingguy.git

- name: maven
  src: gantsign.maven

- name: docker
  src: angstwad.docker_ubuntu
If you are creating your own setup, there might be different entries resp. other role providers. Just have a look at Ansible Galaxy and add the roles fitting your needs.
One custom role is needed for installing the Ubuntu desktop.
The relative path to the file should be roles\desktop\tasks\main.yml.
The content of this file should look similar than the example shown below.
It simply takes the corresponding Debian package and installs it.
- name: Install ubuntu-desktop
  apt:
    pkg: ubuntu-desktop
    state: present
    update_cache: yes
Another custom role is needed for creating a new user.
The relative path to the file should be roles\user\tasks\main.yml.
The login name of the user will be developer.
The password is set to mimacom.
Please note that you need to specify the password hash, which can be generated by calling mkpasswd --method=sha-512 on most Linux systems.
For further details please have a look at the documentation.
- name: Add personal user
  user:
    name: developer
    password: $6$7t98MX2fDZ$9GC3GX6RaymC/jEyK5LP.F.hQLirmQFN3Z82T6P4AwEGKueBNlJnB3wMxWaiXpiS95UQlz6sBBoe4W9ZwKK3A1
    group: sudo
Create the Ansible Playbook
The next step is creating the Ansible playbook. It references the previously defined roles provided by the community and the custom ones. An example of the playbook is shown below.
In addition to listing all roles, a few parameters need to be added. For installing the Oracle JDK we need to accept the license agreement by adding a corresponding text as parameter. In case of Intellij Idea we would like to use the ultimate edition, which is not the default one chosen by the role.
The last parameter you could optionally add is used for the Docker role. It's effect is, that our newly created user will be added to the docker group for easier usage of Docker without sudo. Please have a look at the documentation, because this impacts security on your system.
- hosts: sde
  roles:
  - role: desktop
  - role: user
  - role: git
  - role: oracle-jdk
    java_license_declaration: 'I accept the "Oracle Binary Code License Agreement for the Java SE Platform Products and JavaFX" under the terms at http://www.oracle.com/technetwork/java/javase/terms/license/index.html'
  - role: maven
  - role: intellij-idea
    intellij_edition: ultimate
  - role: docker
    docker_group_members:
      - developer
The requirements.yml and the playbook.yml files can now be used to set up a Debian based system as software development environment - either on the host system or on a virtual guest system.
Create the Vagrant Configuration
The next step is defining a new virtual machine with Vagrant.
This is done by creating a Vagrantfile in the directory of your Ansible configuration.
The Vagrantfile of the sample project is shown below.
We will use the Ubuntu Xenial image (16.04).
Beside this general Vagrant setting, there are some more settings in the Virtualbox specific part.
Due to the fact that we will use the desktop environment of the virtual machine, we need to show the GUI.
The setting related to uartmode1 significantly speeds up the boot time of the new virtual machine as stated in this discussion.
There are some more settings, which you might want to customize (e.g. memory, CPU count etc.).
Vagrant.configure("2") do |config|
  config.vm.box = "ubuntu/xenial64"

  config.vm.provider :virtualbox do |vb|
    vb.gui = true
	vb.memory = 8096
	vb.cpus = 2
	vb.customize ["modifyvm", :id, "--uartmode1", "disconnected"]
	vb.customize ["modifyvm", :id, "--vram", "256"]
  end

  config.vm.provision "ansible_local" do |ansible|
    ansible.groups = {
      'sde' => ['default']
    }
	ansible.sudo = true
	ansible.galaxy_role_file = 'provisioning/requirements.yml'
    ansible.playbook = "provisioning/playbook.yml"
  end
end
The key part of the configuration is the provisioning section.
We will use ansible_local, i.e. Ansible is not needed on the host system.
Vagrant will try to install Ansible inside the new virtual machine. Ansible playbooks will then be directly executed on the guest system.
Further details are available in the Vagrant documentation.
We need to assign the guest machine to the host group sde, which is referenced in the playbook. Additionally we give sudo rights.
As most important part, the path to the requirements file and the playbook are configured.
The provisioner will take care of downloading all external roles and then executes the specified playbook.
Before creating and starting the virtual machine, you could install a plugin called vagrant-vbguest by executing vagrant plugin install vagrant-vbguest. It takes care of installing the host's version of the Guest Additions on the guest system automatically.
Finally the new virtual machine is created and started by executing vagrant up in the directory containing your Ansbile and Vagrant configuration files.
After the virtual machine is created, the provisioner is triggered automatically.
This might take some time to finish (approx. 5-15 minutes).
Once this process ended, you need to restart the guest with vagrant reload.
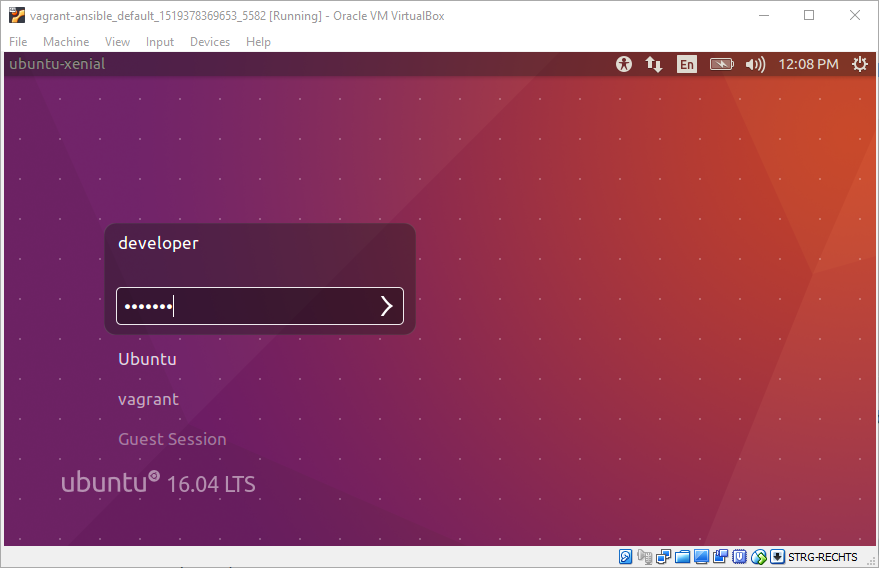
You should then see the Ubuntu login screen in a Virtualbox window.
You can now log in by choosing the developer user with the password mimacom.
Conclusion
This blog post has shown, how you can automatically set up a new software development environment in a virtual machine from scratch by using a combination of Ansbile and Vagrant. From my personal point of view, this leads to the following potential benefits:
- The setup of the software development environment is reproducible and less labor intensive.
- It is even possible to create separate instances, e.g. per project, which helps you to stay focused.
- Onboarding of new team members could become easier, because a tested setup of the software development environment is available.
- It could be easier to get started, if you come back on a project after a longer time or in case of maintenance.
The example provided here can be used as a starting point, if you'd like to test it on your own. The sample project is available on Github.