Deploy a demo site with a JSON API on Heroku
In this post I will present some tricks that I learned creating demo sites for blog posts and PoCs. You will learn how to configure a JSON-server API and deploy it on the same Heroku site than the frontend app. You will also learn how to use Faker to generate fake data for your JSON server.
Many times I have used JSON-server to quickly create a simple API as a backend for a simple demo or proof of concept. Don't make me wrong: I'm not encouraging anyone to use that as a production server, but just for those kind of small projects.
JSON server provides a full REST API from a single db.json file, including GET, POST, PUT, PATCH and DELETE routes to get and modify your entities.
In this scenario I usually find two problems:
-
Having enough data. If you create the JSON data manually, you will easily get tired after creating 10 entities. Imagine if you need hundreds of entities with different models.
-
Serving the data. If you want to deploy your demo on Heroku, you need a site to hold your application and a second one to hold the API.
Regarding the first problem, we will use Faker to programatically create the db.json file. This will also simplify modifying the models, i.e., if the model changes, we don't need to manually change several hundreds of entities.
As for the second, we will use concurrently to launch both the frontend and backend apps in different ports, and we will add specific configurations for Heroku.
App initialization
For this post we will generate a sample react app. We could make similar configurations with other Javascript frameworks.
Let's create a new typescript react app:
npx create-react-app json-server-demo --template typescript
Let's add json-server, concurrently and axios as dependencies, and faker as dev dependency of the project:
yarn
yarn add json-server concurrently axios
yarn add --dev faker
Let's test our sample app:
yarn start
Open your browser at http://localhost:3000/ and the sample React app will show.
Creating the API
Our sample app will list employees, with their name, email and country location.
We will create the db.json file with faker with not less than 1000 employees, because we think big 😏
Create a file in the folder src/db/index.json with the following contents:
var fs = require("fs");
var faker = require("faker/locale/es");
faker.locale = "es";

let employees = [];

for (let i = 1; i <= 1000; i++) {
  const firstName = faker.name.firstName();
  const lastName = faker.name.lastName();
  employees.push({
    address: `${faker.address.streetAddress()}, ${faker.address.zipCode()}, ${faker.address.city()}, ${faker.address.country()}`,
    email: faker.internet.email(firstName, lastName),
    id: i,
    name: faker.name.findName(firstName, lastName),
  });
}

const data = {
  employees,
};

fs.writeFile("src/db/db.json", JSON.stringify(data, null, 2), (err) => {
  if (err) return console.log(err);
  console.log("Created database at src/db/db.json");
});
The code is easily readable, this script will create a src/db/db.json file with 1000 employes, using random name, address and email for each employee. The locale used is "es"; this means that the names and emails will be created in Spanish. Pay attention how the name and email fields are created using the same firstName and lastName, so they will be coherent.
Now we'll add the following script to the "scripts" section in the package.json:
"create-db": "node src/db/index.js",
To run the script, just execute:
yarn create-db
And we are all set up to create the json-server API with our brand new JSON database of employees.
We can test it right now from the command line. We will use the --port option to set it on port 3001, so that it doesn't clash with our react app already running on port 3000:
json-server src/db/db.json --port 3001
If you open http://localhost:3001/employees in your browser you will see the full list of employees.
[
  {
    "address": "92349 Hurtado Ramal, 88648, Fuengirola Alejandrotown, Gabón",
    "email": "JosEmilio57@gmail.com",
    "id": 21,
    "name": "José Emilio Pizarro"
  },
  {
    "address": "536 Margarita Ronda, 45257, Las Vegas, Eslovenia",
    "email": "Dorotea_Ocasio72@hotmail.com",
    "id": 22,
    "name": "Dorotea Ocasio"
  },
  {
    "address": "69354 Candelaria Chalet, 17110, Archuletaburgh, Sri Lanka",
    "email": "Benjamn_Menchaca65@yahoo.com",
    "id": 23,
    "name": "Sta. Benjamín Menchaca"
  },
  ...
]
You can also test some URLs with params, like pagination or full text search:
http://localhost:3001/employees/1
http://localhost:3001/employees?_page=3&_limit=10
http://localhost:3001/employees?q=Pedro
Consuming the API
We'll create a simple app that presents a search box and a list of results. We will ommit the CSS file contents, which just adds some styling to the application. You can find it on the repository listed at the end of this post.
import React, { useEffect, useState } from "react";
import axios from "axios";
import "./App.css";

type Employee = {
  address: string;
  email: string;
  id: number;
  name: string;
};

const App = () => {
  const [query, setQuery] = useState("");
  const [employees, setEmployees] = useState<Employee[]>([]);

  useEffect(() => {
    loadEmployees(1, 20);
  }, []);

  useEffect(() => {
    loadEmployees(1, 20, query.length > 2 ? query : "");
  }, [query]);

  const loadEmployees = async (page: number, limit: number, query = "") => {
    const url = `http://localhost:3001/employees?_page=${page}&_limit=${limit}&q=${query}`;
    const _employees = await axios
      .get<Employee[]>(url)
      .then(({ data }) => data);

    setEmployees(_employees);
  };

  return (
    <div className="App">
      <div className="search_form">
        <label className="search_form--label">Search employees</label>
        <input
          className="search_form--input"
          type="text"
          value={query}
          onChange={(event) => setQuery(event.target.value)}
        ></input>
      </div>
      <div className="employee_list">
        {employees.map((employee) => {
          return (
            <div className="employee_list--item">
              <div className="employee_list--item-name">{employee.name}</div>
              <div className="employee_list--item-address">
                {employee.address}
              </div>
              <div className="employee_list--item-email">{employee.email}</div>
            </div>
          );
        })}
      </div>
    </div>
  );
};

export default App;
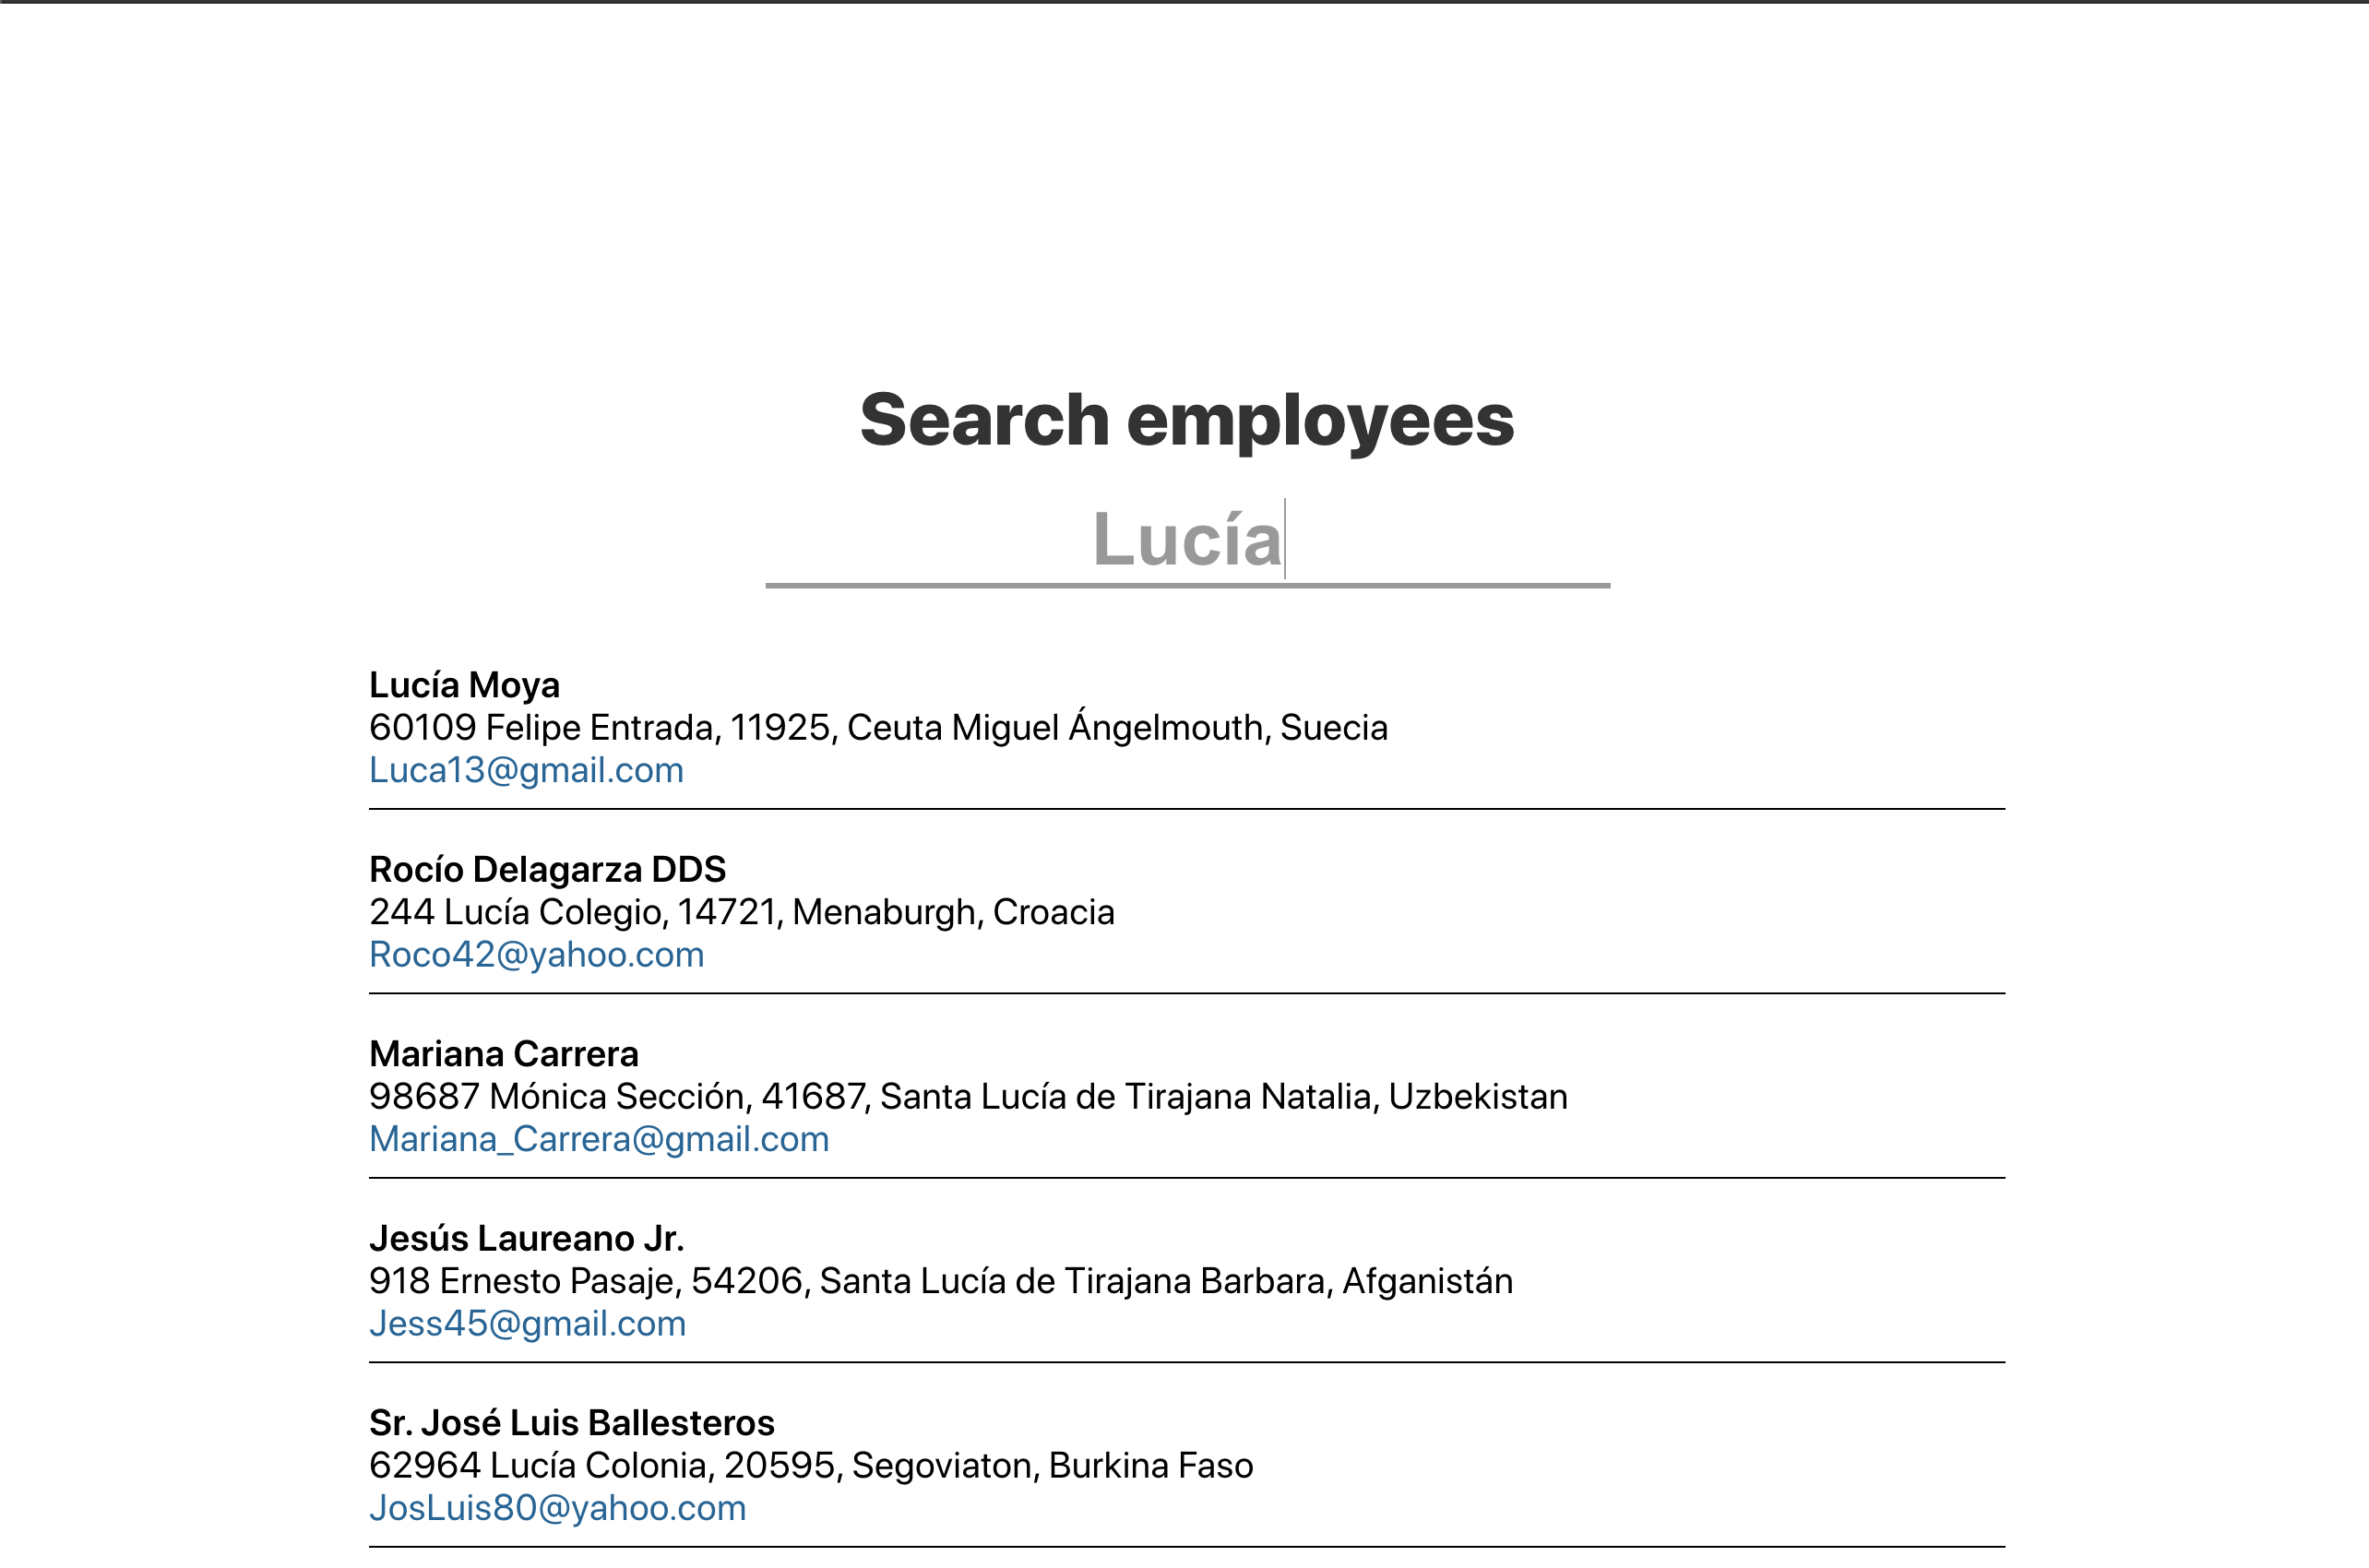
This is how the app looks.
Enhancing the development configuration
Let's make some changes to simplify the development cycle. We will add the proxy configuration to package.json, so that the network calls are redirected to port 3001.
"proxy": "http://localhost:3001",
This way, we can simplify the URL in our App.tsx:
const url = `/employees?_page=${page}&_limit=${limit}&q=${query}`;
We can now restart the app and it will still work.
Then, we will use concurrently to start both the backend and the frontend from a oneliner script. Replace the start from package.json script with the following:
"start": "concurrently \"react-scripts start\" \"json-server --watch src/db/db.json --port 3001\"",
You can now stop the terminal running json-server src/db/db.json --port 3001. Just run from the project folder:
yarn start
And you are good to go.
Deploying to Heroku
Making both the json-server and your app to run on the same instance of a service like Heroku is trickier. You usually would need two sites, one for the frontend and one for the backend.
We are going to benefit of the static site generation of json-server.
First of all, let's build our react application.
yarn build
This will generate a static version of the app in /build. Then remove this lines from .gitignore in order to push the static site to our remote repository:
# production
/build
Create the file server.js in the root of the project with the following contents:
const jsonServer = require("json-server");
const server = jsonServer.create();
const router = jsonServer.router("src/db/db.json");
const middlewares = jsonServer.defaults({ static: "./build" });
const port = process.env.PORT || 3000;

server.use(middlewares);
server.use(router);

server.listen(port);
If you stop the yarn start script and run this script locally, your app will run from the static files in the /build directory, served by json-server.
node server.js
This is exactly what Heroku will use to serve your application using a single site.
Now, to tell Heroku to call this node server.js you need to create a Procfile file in the root of your repository with the contents:
web: node server.js
And that is all the configuration that you need.
I will skip the part where you create a Heroku account, add a new app and connect it to your Github repository. You can find many tutorials about that out there.
You can find the code for this demo in the following link:
https://github.com/jguix/json-server-demo
And the deployed Heroku app:
https://json-server-demo1.herokuapp.com
Netlify and Vercel
Unfortunately we can not do the same on Netlify or Vercel. The reason is that these services don't let us run node commands, but instead you would need to create your API using serverless functions. You can of course host there your app and have the API on another service, but that was not the point of this article.
Conclusion
I wanted to put together all the steps that I learned building and hosting simple apps for demo purposes including an API. This can probably help you performing the first steps of your next project, hosting a demo for a blog post or impressing some company in a technical interview.
Credits
Photo by Austin Neill on Unsplash.