Introduction to e2e tests with Cypress
We all know that Selenium is probably the most used tool for end-to-end (e2e) testing. If you have written e2e tests recently you have probably used Selenium or Protractor (if you were using Angular/JS). If that's the case and you have had to fight against the async hell, you will understand why the need of a new framework that improves that for us (among other stuff). And that is Cypress.
What is Cypress?
Cypress is not just an e2e tool but a frontend testing tool, as it allows us to write e2e, integration and even unit tests! Boom! As they say, you can test whatever runs in a browser. It is not based on Selenium, so that is why it is quite different than other existing tools.
One current downside of Cypress is that it only runs in Chrome browsers but supporting other browsers as Firefox, Safari and IE is on their roadmap. This is key to decide whether to use Cypress for your project or not, at this moment.
Hands on!
Let's give an introduction of what Cypress can do for us with an example. We are testing an existing application that can be found in this Github repository.
In this article we will focus on e2e tests but, as said before, it can be used to test anything that runs in a browser.
Installation
We are adding Cypress to an existing project, so installation is as simple as running the following command on the root of the project:
$ yarn add cypress --dev
You can also install it with npm or as a standalone program.
Running Cypress is also very simple:
yarn run cypress open
When running this command for the first time, Cypress will create the folder structure in your project and a cypress.json configuration file in the root of your project.
It will also start the tool and show a collection of sample tests that you can run to get your first impression with the tool:

You can run a test by clicking on it or run all the tests by clicking on Run all specs.
The generated cypress folder contains the following subdirectories:
- fixtures: data files to be loaded in the tests (json, images, etc) to mock data.
- integration: test files.
- plugins: extensions of the behavior of Cypress via plugins.
- support: utilities to improve the tests, you can add custom commands, customize existing commands or add any other logic that must load before your tests.
In this post we will focus on writing a test and interacting with the tool, in a next post we will cover what are the other folders used to.
Writing a test
We are testing an existing application that is very simple: it has a search bar where the user can put the name of a song, artist or album and a button to perform the search against the Spotify API:
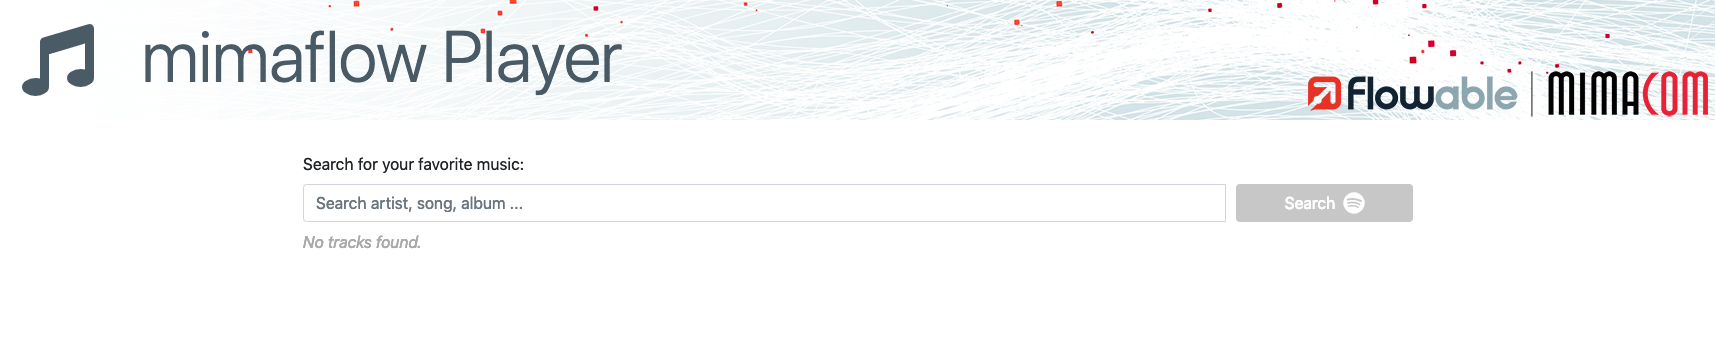
Let's create a test for the next use case:
When the user types the name of a song in the search bar and then clicks the search button, a list of songs should be listed.
Then, let's create a new file in the integration directory called search.spec.js. Cypress uses a set of libraries to easily write the tests.
The first command in our test must be to go to the application url, which is accomplished with the cy.visit() command:
describe("Search test suite", () => {
  it("should search songs", () => {
    cy.visit("http://localhost:3000");
  });
});
If we run this spec a new browser window will open, the address indicated in the cy.visit() command will be typed and we will see the homepage of the application.
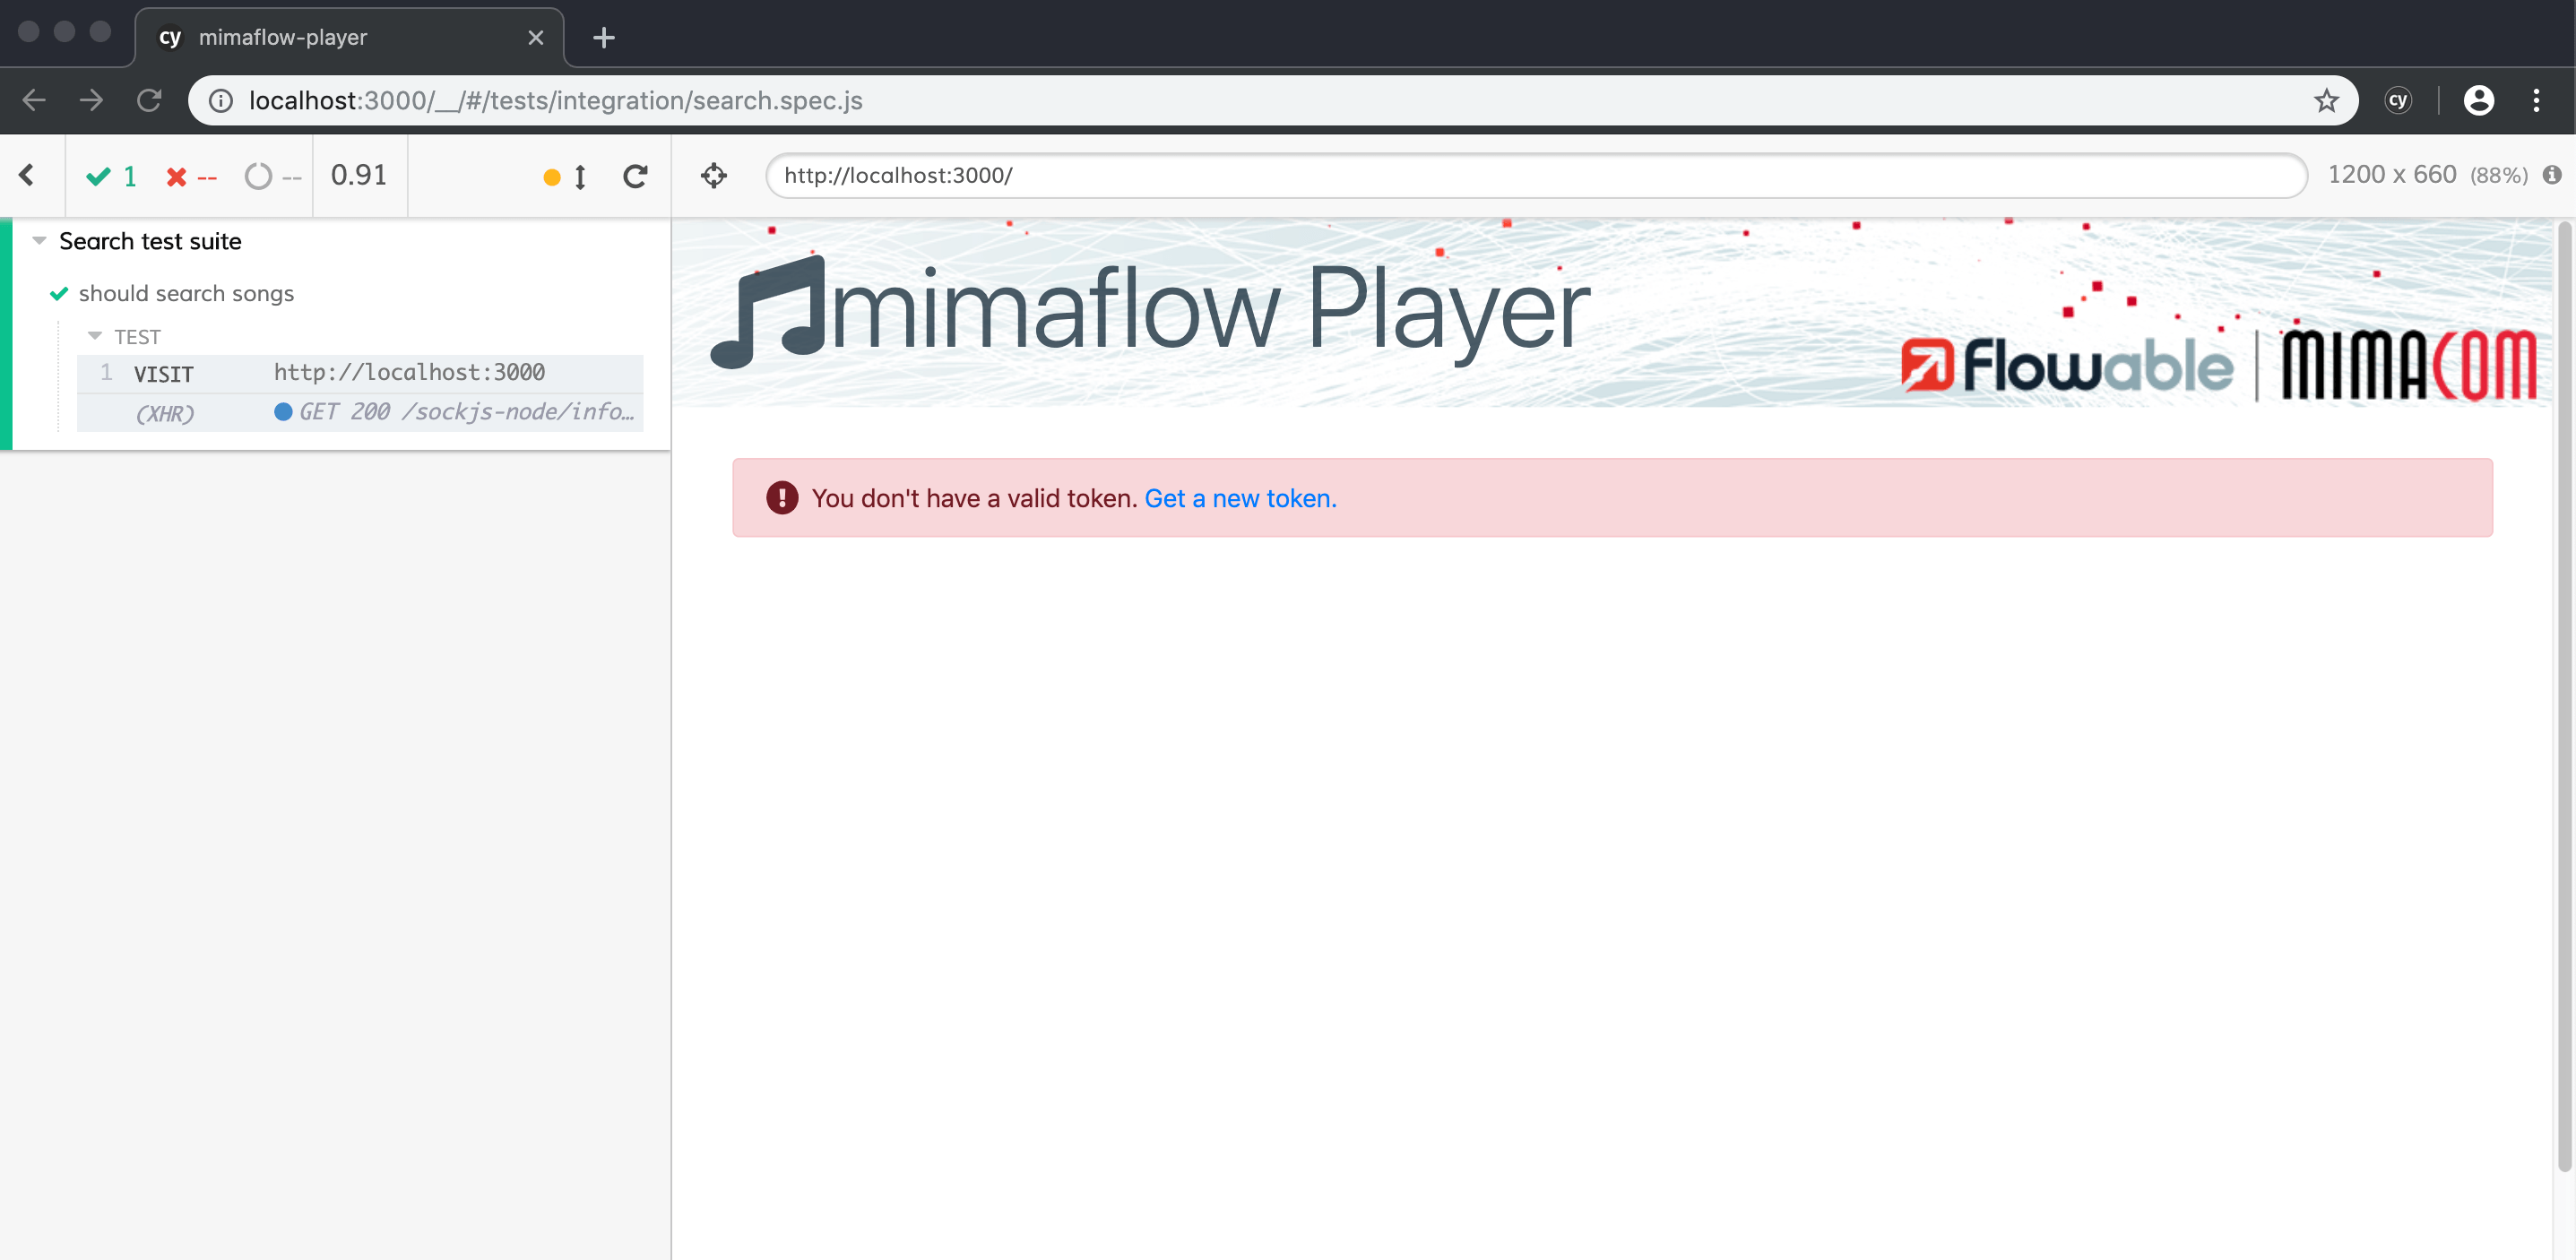
This application relies on the Spotify API to work, so if we do not have a valid OAuth2 token, searches cannot be done.
When a valid OAuth2 token is not found, the application requires the user to click on the Get a new token link and is redirected to the Spotify OAuth2 login to authorize the application to use his/her data.
Cypress does not allow to click links leading to external websites as you should not test a third party application. Instead, you should just test your <a> has the proper href value.
In this case, we will use the Client Credentials OAuth2 flow so the OAuth2 token can be obtained avoiding any user interaction.
The application just needs a token stored in the localStorage.
To get a token we need to use the command cy.request(), which facilitates the submission of forms via http and takes care of waiting until everything is ready to continue with the test.
So, we just make a request against the Spotify API with the proper authorization header and we set the received access_token in the local storage so the application can work as expected:
describe("Search test suite", () => {
  it("should search songs", () => {
    const authHeader = "Basic MTE5Y2Y4MTI2MWVlNGFjNWI3YjQ5ZTA5M2M4ZmNlNzI6ZWEzZGRlMmMwMDdlNGVkYTliNGFkYTc1M2I0MzViYTM=";

    const options = {
      method: "POST",
      url: "https://accounts.spotify.com/api/token",
      form: true,
      body: {
        grant_type: "client_credentials"
      },
      headers: {
        Authorization: authHeader
      }
    };

    cy.request(options).then(resp => {
      localStorage.setItem("token", resp.body.access_token);
    });

    cy.visit("http://localhost:3000");
  });
});
When the test runs again, the search bar and button will be displayed, as Cypress has dealt asynchronously with getting the token behind the scenes.
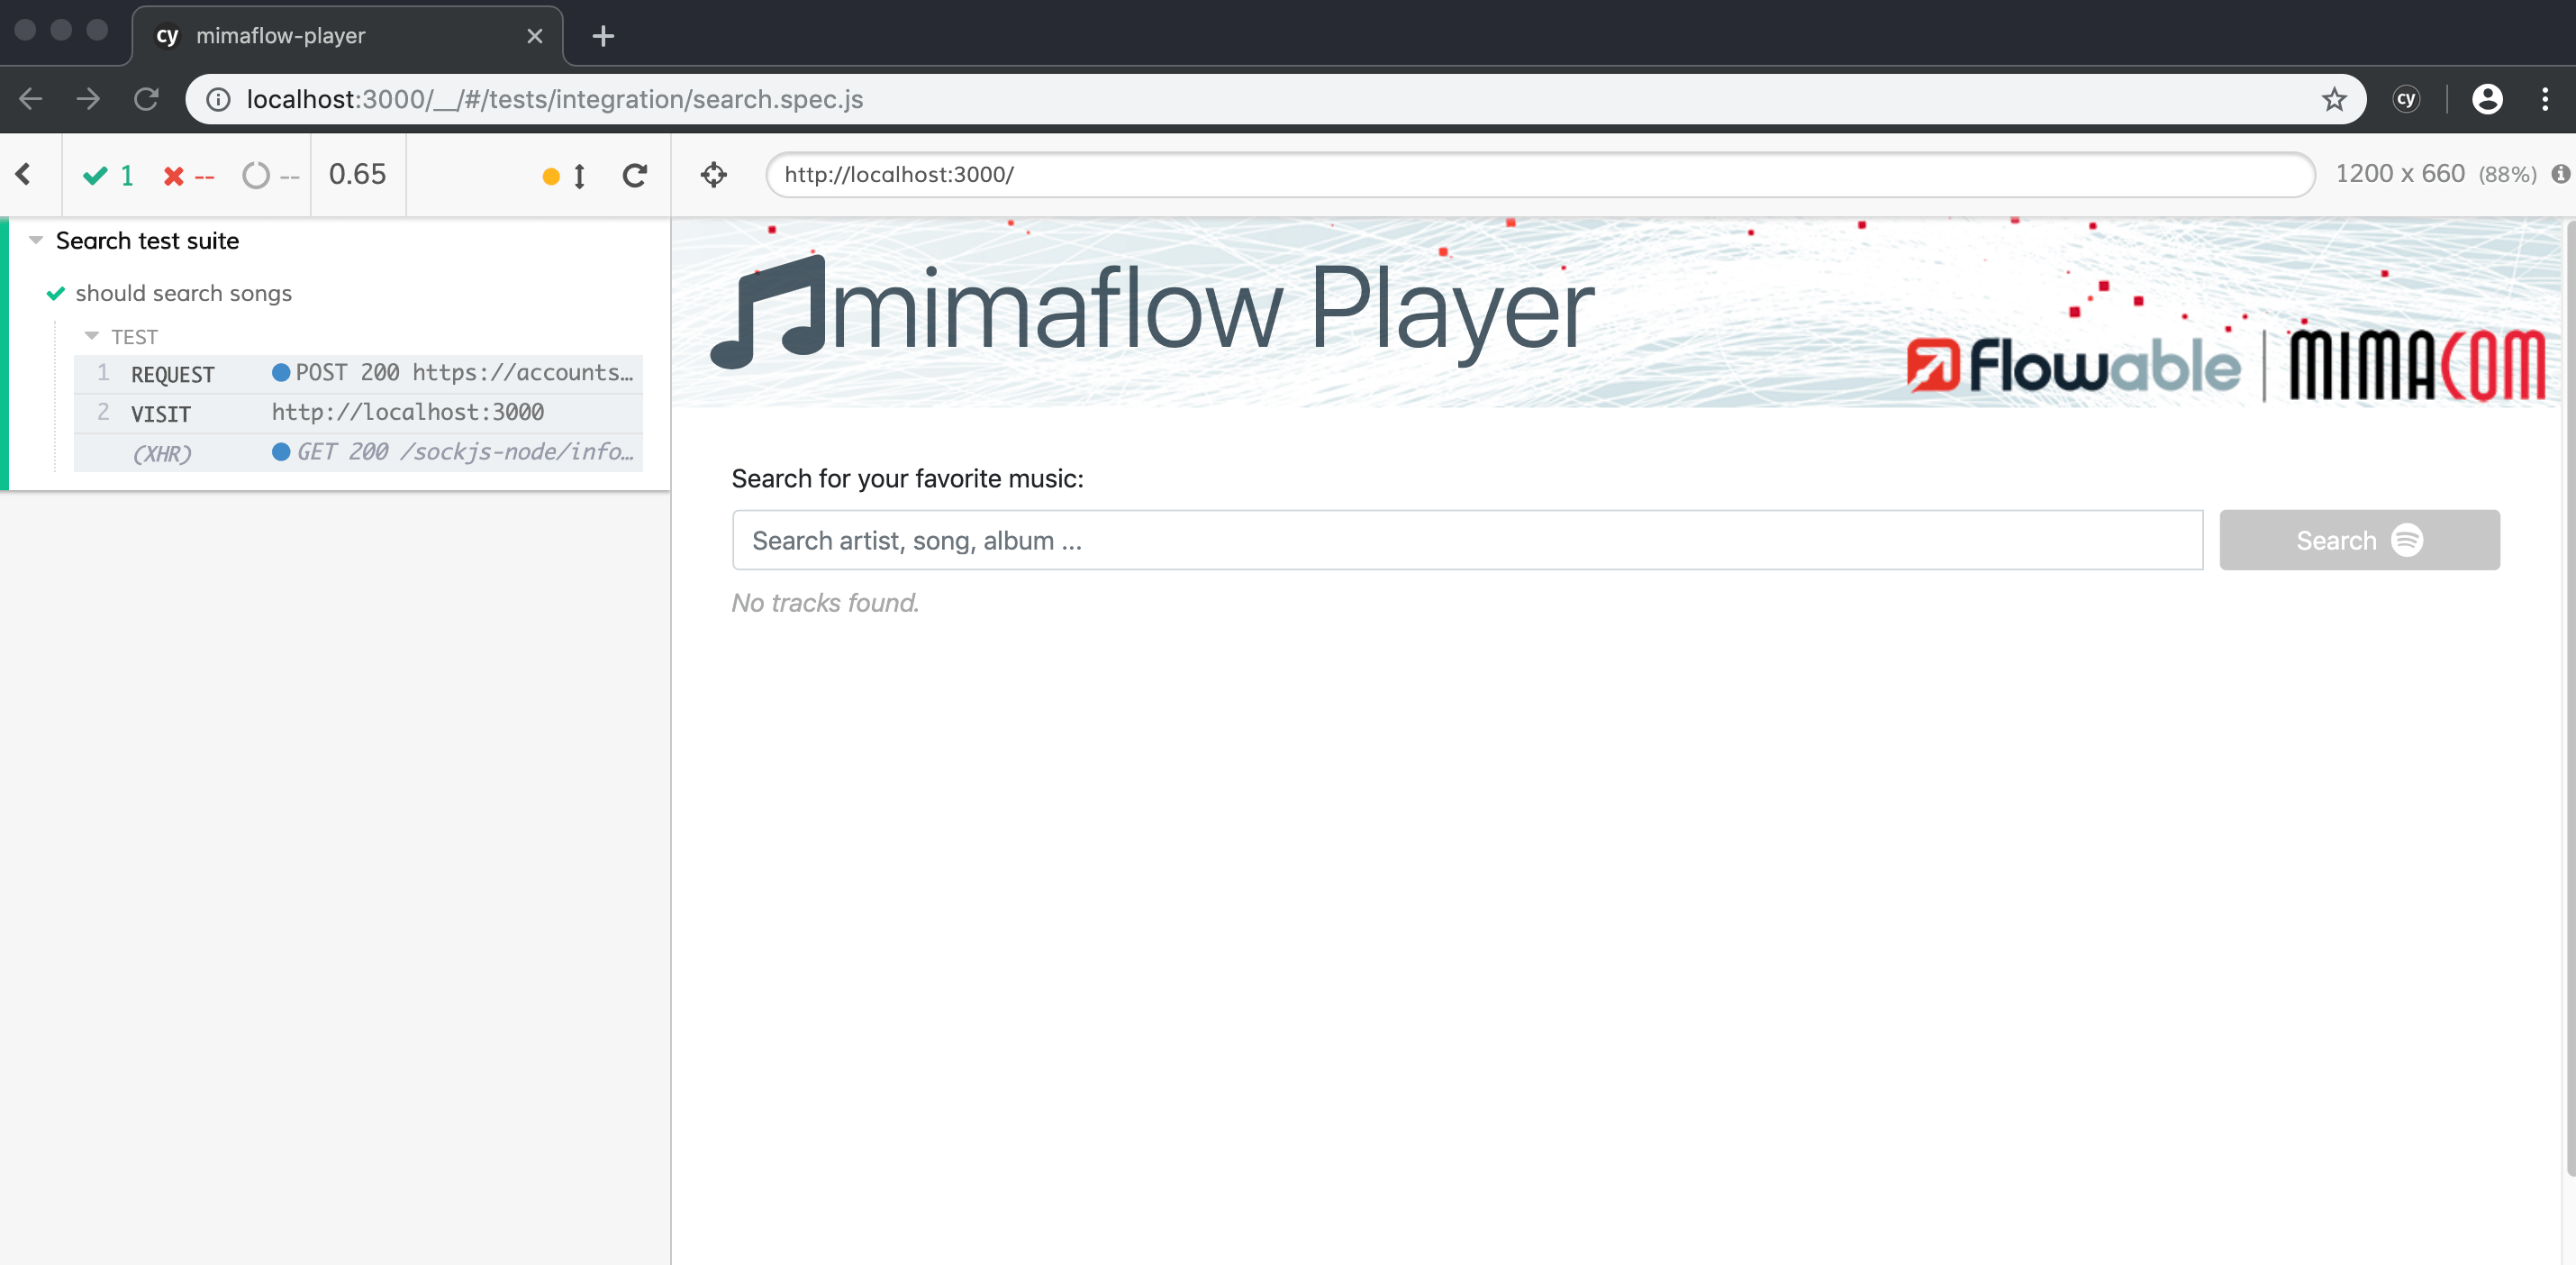
As you can see, Cypress runs the tests in a Chrome window, where the user is able to work with the test as if you were manually testing your application: open developer tools, inspect code, open the console...
Now that the search bar and the button are displayed, it is time to complete the test by adding the logic to search songs (note the code to obtain the token has been extracted in a getToken() function ):
describe("Search test suite", () => {
  it("should search songs", () => {
    getToken();
    cy.visit("http://localhost:3000");
    cy.get("#search-term") //1
      .focus() //2
      .type("take on me") //3
      .should("have.value", "take on me"); //4
    cy.get("button[type=submit]").click(); //5
    cy.get(".total-tracks") //6
      .should("be.visible") //7
      .and("contain", "10 results"); //8
    cy.contains("10 results"); //9
  });
});
This is what we are doing:
- Select the html element with id
search-term - Focus on it
- Type
take on meon it - Assert the value of the element is
take on me - Select the HTML element with selector
button[type=submit]and click on it - Select the HTML element with the CSS class
total-tracks - Assert that it is visible
- Assert that it contains the text
10 results - Find an element in the page containing the text
10 results
There are many things happening in this test:
- Access to HTML elements
- Interaction with HTML elements
- Assertions
HTML elements can be accessed using two commands cy.contains(), which searches elements with a given text and cy.get(), which searches elements based on common jQuery selectors (i.e.: ids, class names, etc).
Generally speaking, it is better to use get as you can select elements more specifically.
Although, the recommendation from Cypress is, if possible, to create a dedicated attribute data-cy.
This way, this is used as a dedicate Cypress selector for the elements in the page, to avoid causing a failure just because the label of a button changes (assuming this should not make the test fail).
For instance, the selector for the search button would be better addressed with [data-cy=search-btn] than with button[type=submit].
Both get and contains are commands that can be chained with other commands to allow interaction with the elements such as type(), focus(), click(), blur(), etc.
Furthermore, you can chain the command should() to use Chai assertions on a given element which, in the end, make the tests very readable.
All Cypress commands run asyncrhonously so you can chain them as needed letting the framework making sure the elements are loaded before using them.
Running the test
When Cypress runs the test, each of the defined steps are displayed on the left side bar allowing the user to see the state of the application at any point of the test. Navigation between the steps is possible by just clicking on each step.
For instance, if you click on step 5 - TYPE, you can see a snapshot of what the DOM looked like before and after running that concrete step by clicking on the before, after buttons displayed at the bottom.
This is what the application looked like before typing something in the search bar:
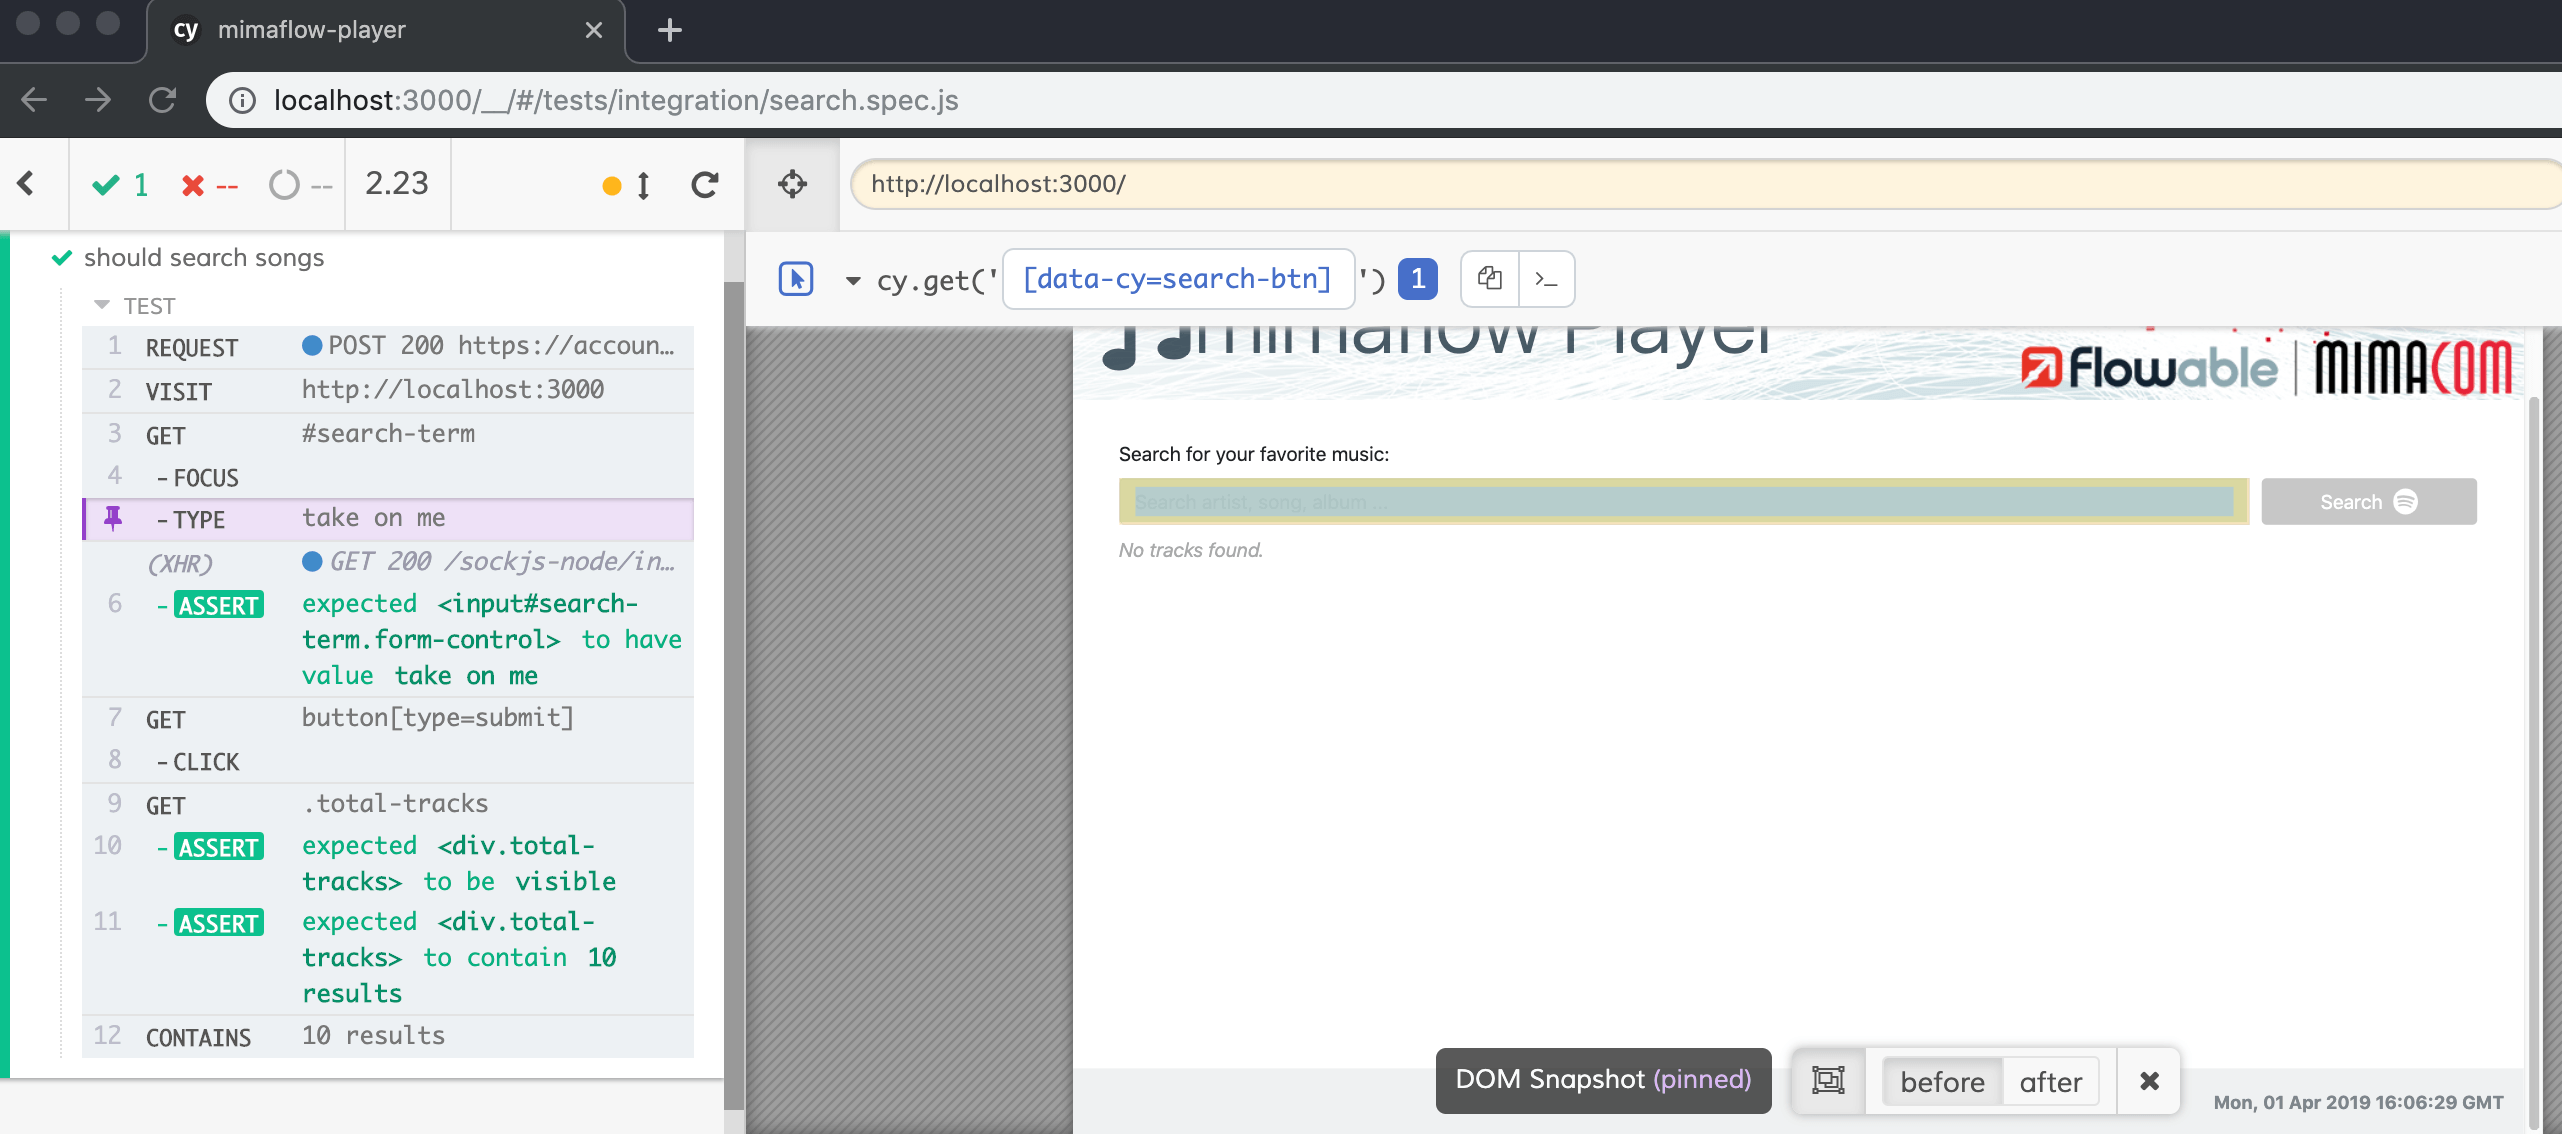
And this what it looked like afterwards:
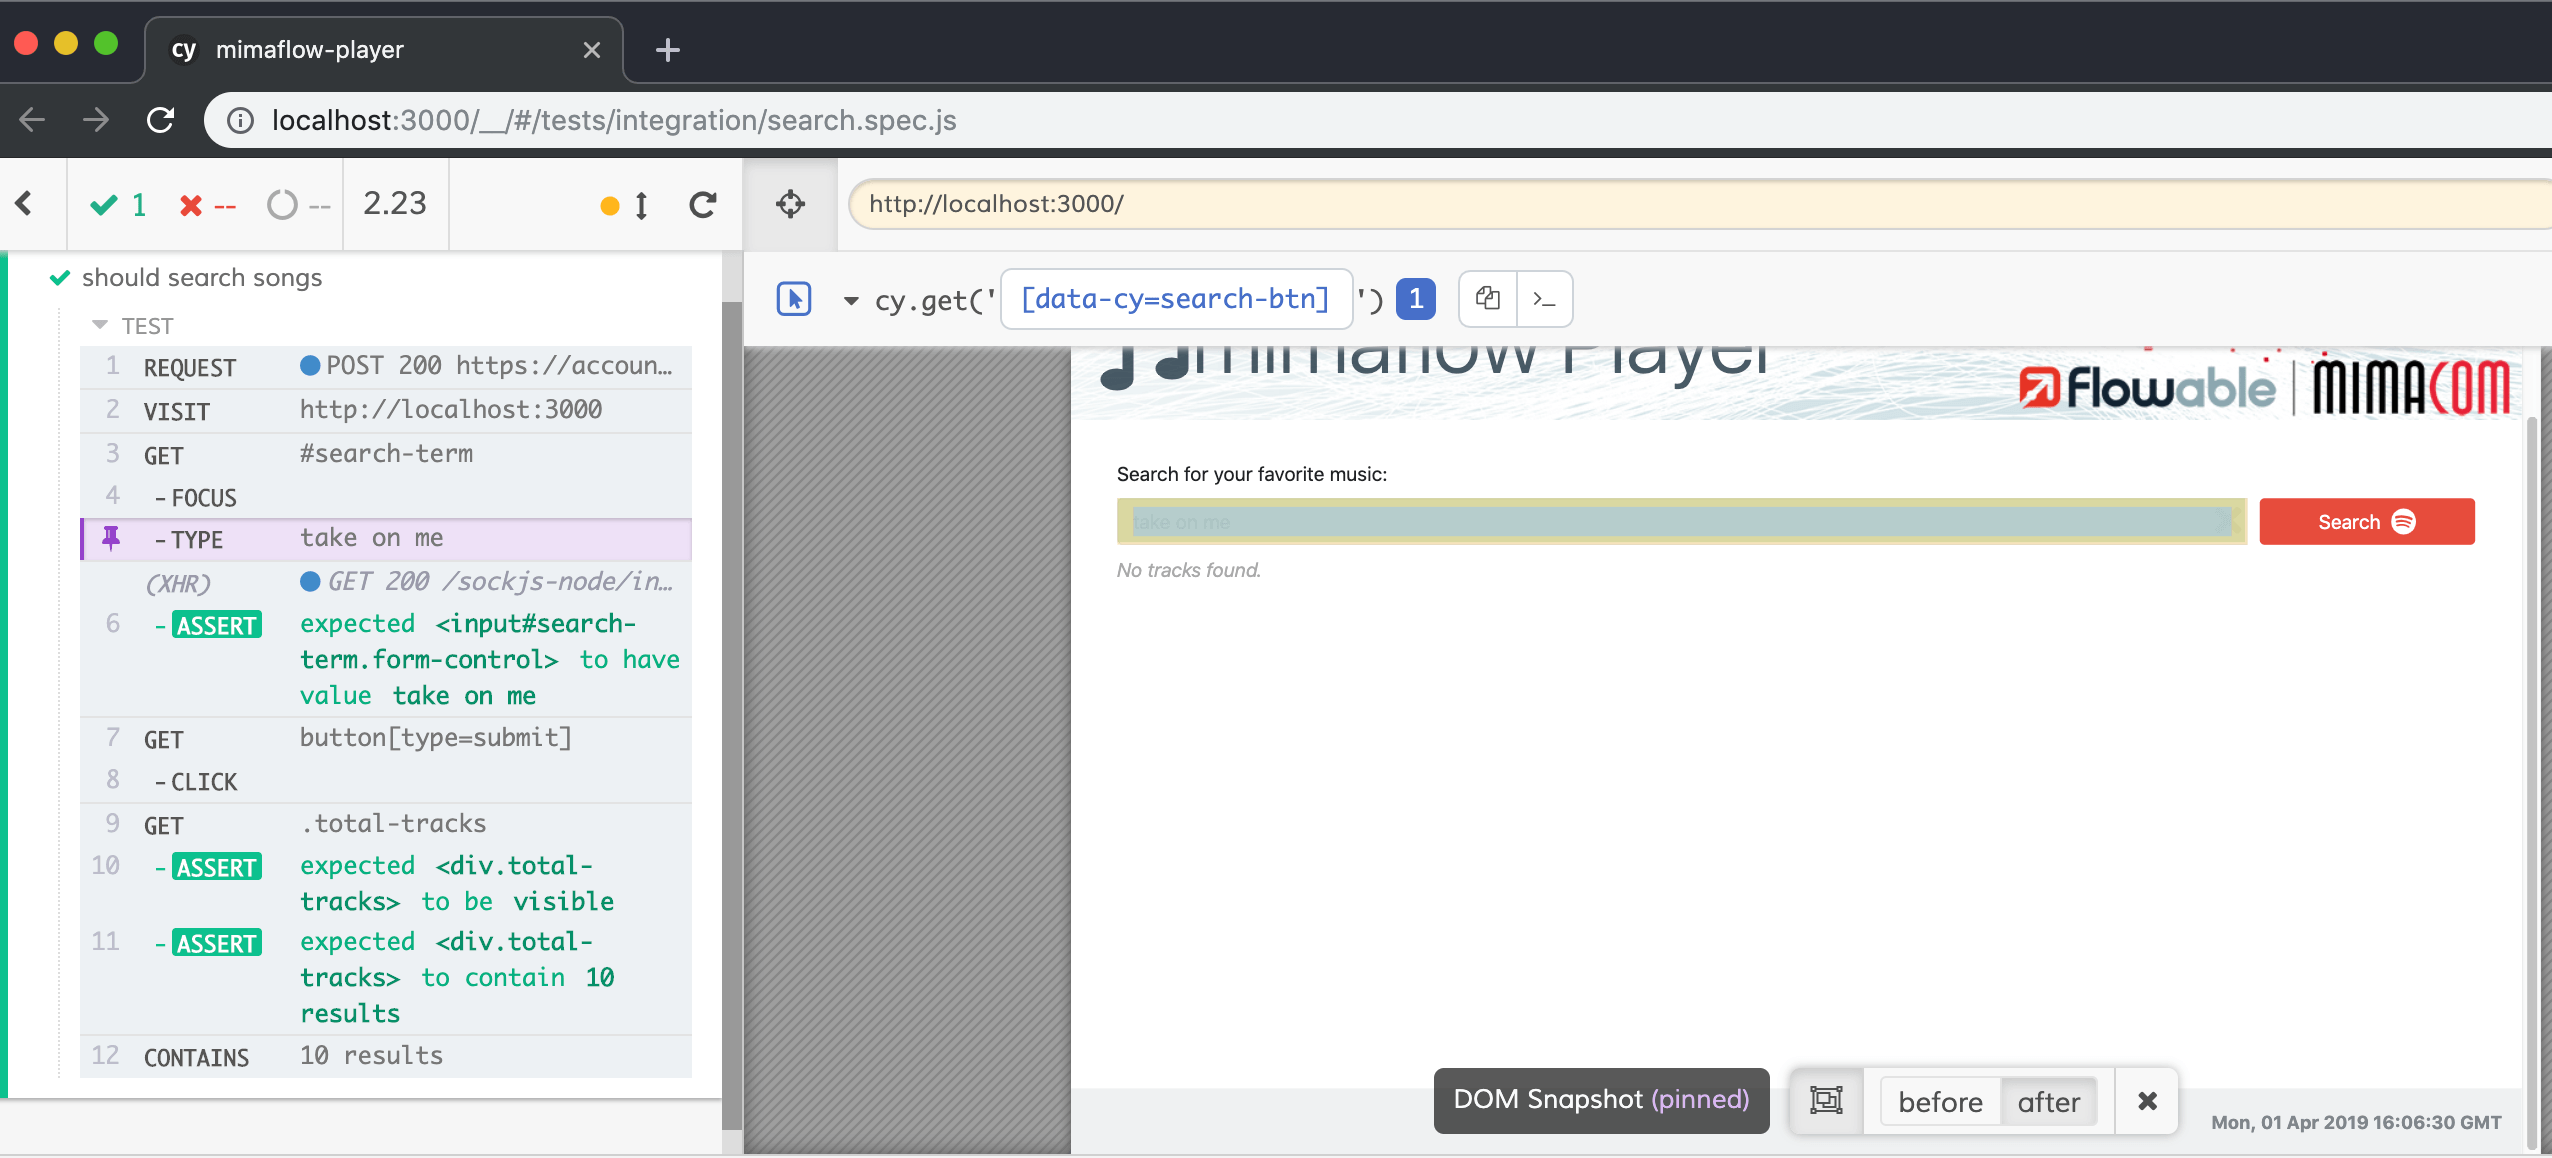
Before typing the name of the song, the search button was disabled, but right after the search bar contains text, it becomes enabled.
You can also interact with the application using the Chrome developer tools at any point of the test so you can easily debug every action carried out by the test.
Besides, Cypress provides a navigation arrow to find out which is the best selector of an html element, in case you do not know which is the recommended selector:

In the example above, the most accurate selector for the label No tracks found. is its class name .no-tracks.
Conclusion
Cypress is a promising tool for writing e2e tests as it has many advantages such as debugging, async management, readability... and many more that we could not have shown in a single blog post.
This was just an initial overview of how to write a test with Cypress and how to interact with the tool. In a soon to be published blog post we will talk about more complex use cases involving the use of commands and plugins, to deal with situations closer to the real world.
Pay attention! It is coming soon!