Backup Elasticsearch Data with Microsoft Azure
Your data in Elasticsearch is valuable. Therefore the need for backups is provided by the snapshot and restore mechanism in Elasticsearch.
A snapshot is a backup taken from a running Elasticsearch cluster. You can take snapshots of individual indices or of the entire cluster. Snapshots can be stored in either local or remote repositories. Remote repositories can reside on S3, HDFS, Azure, Google Cloud Storage, and other platforms supported by a repository plugin. Elasticsearch Reference
In this article, we provide an example from beginning to end, how to perform a snapshot with Microsoft Azure. Microsoft Azure is a cloud computing service created by Microsoft for building, testing, deploying, and managing applications and services through Microsoft-managed data centers.
- In the first part, we create for the demonstration an Azure account.
- In the second part, we describe how to install and configure the Elasticsearch Azure plugin with the demo account.
- In the final third part, we create a snapshot of the Kibana index.
In this article, we use the Elastic Stack Version 7.7.1. We recommend using a single-node Elastisearch cluster if you want to follow this example.
Create an Azure Storage Account
Go to the Microsoft Azure Portal and create an account. New accounts have a trial period with a fixed amount to use for experiments.
Once you have completed the account creation, go to Storage and create a storage account.
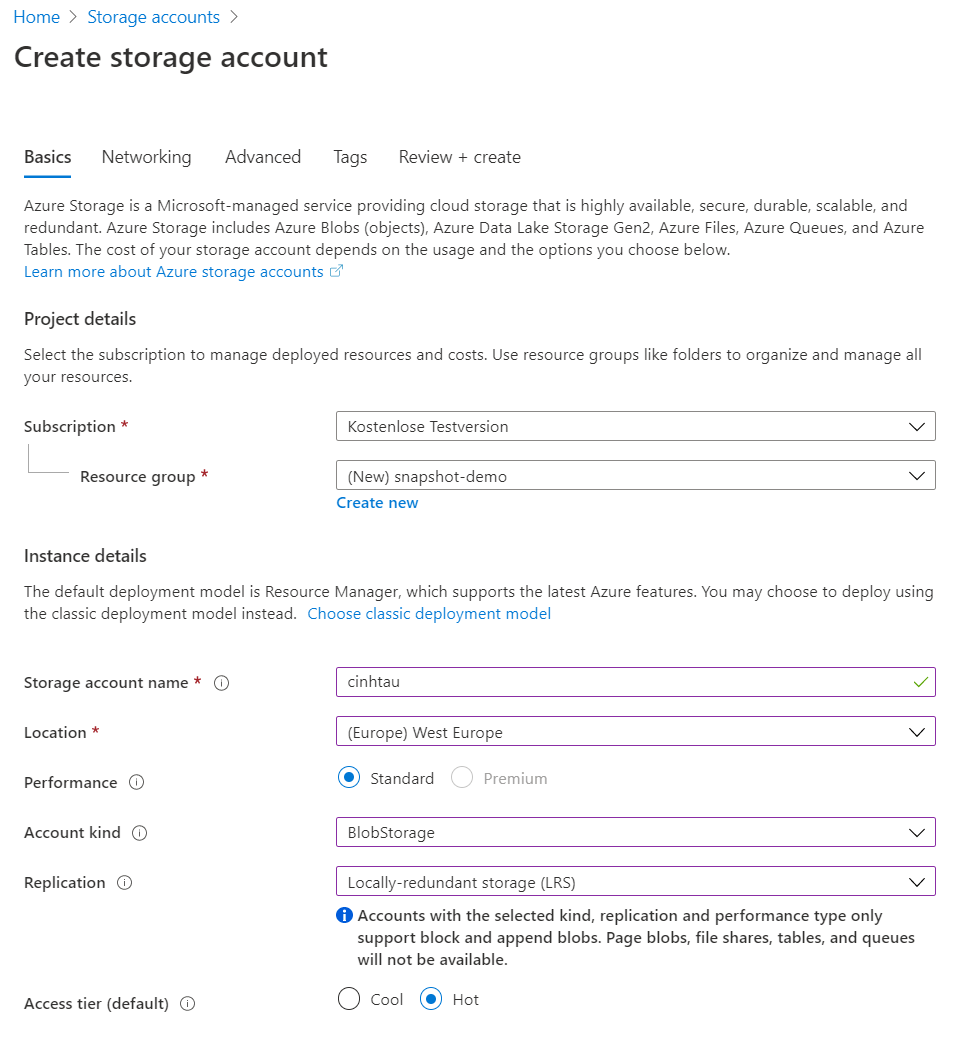
The Storage Account Name is unique, and I chose to use cinhtau. It never was occupied so far 😉.
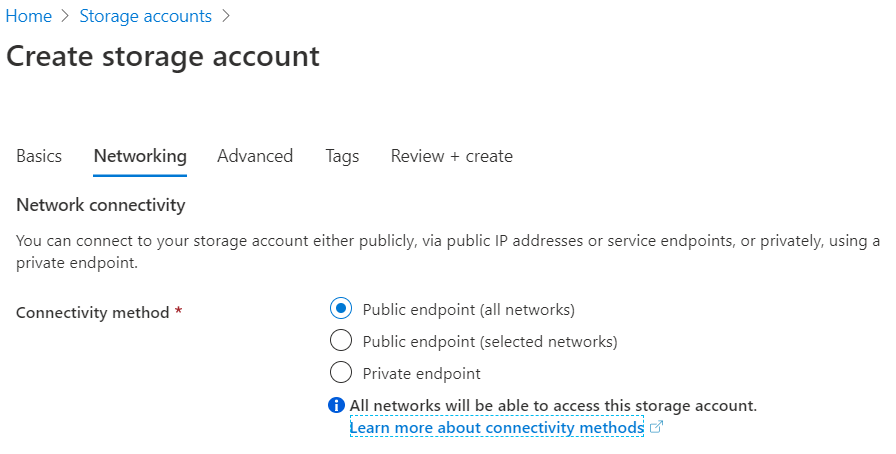
Next is networking. Since we want to create backups, it is publicly accessible. If your Elasticsearch cluster is in a VPC (Virtual Private Cloud) on Azure, you can also choose other options.
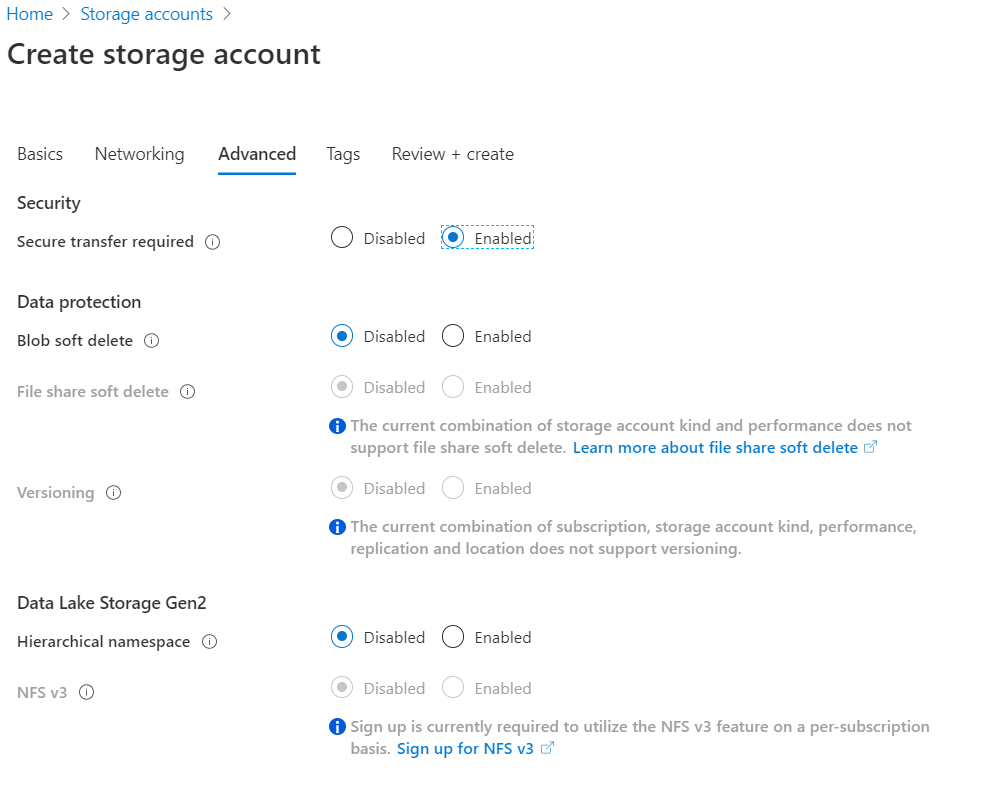
In the Advances Settings choose secure transfer, i.e. traffic is encrypted with https.
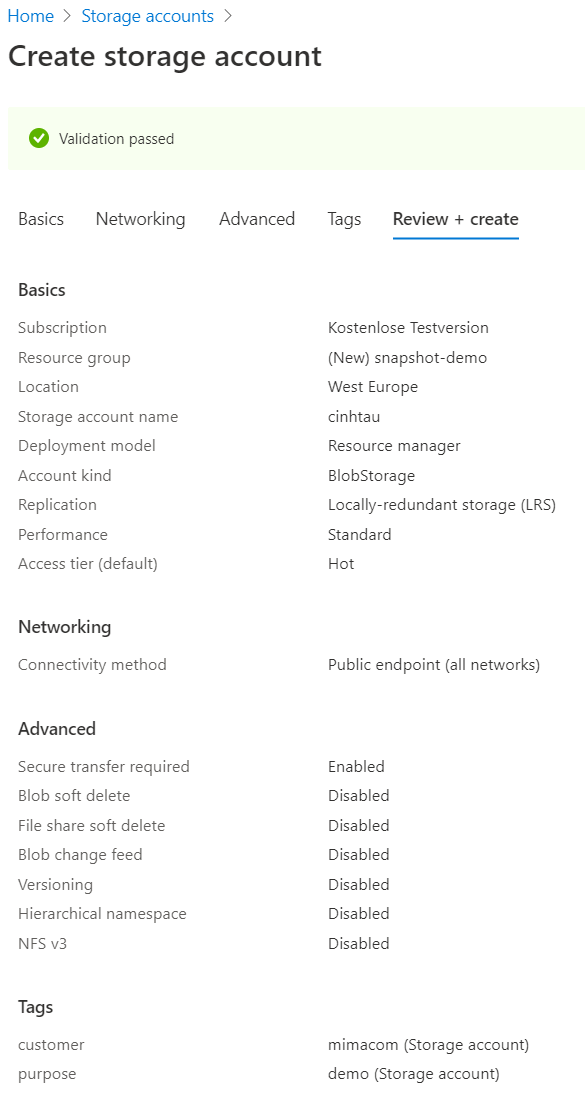
Tags is a taxonomy for billing and statistics. For instance, you can use customer, project or more meaningful, purpose as a tag.

After completion, you can see a detailed summary of the storage account, before deployment.
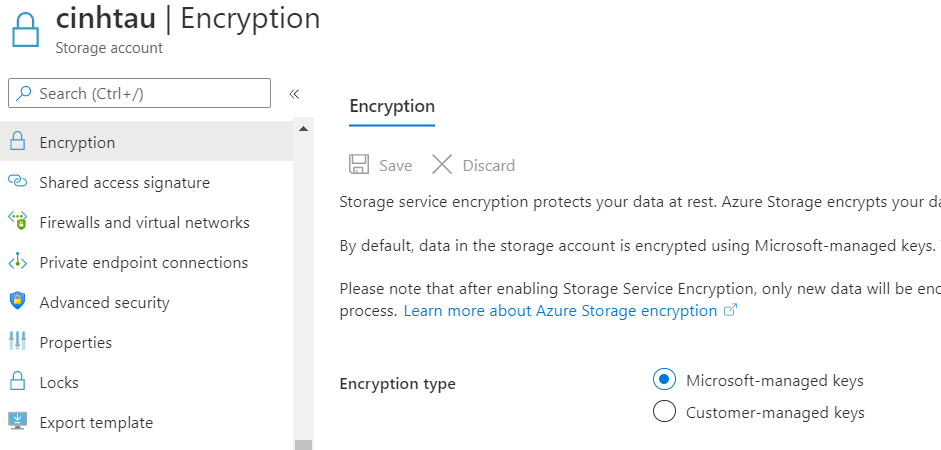
If you want special encryption, you can set it up in Encryption.
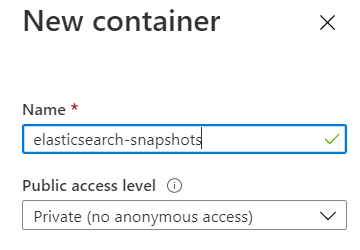
For Elasticsearch we need a container. As a default, the Elasticsearch Azure Plugin expects elasticsearch-snapshots.
Create this container for the Elasticsearch snapshot.
Setup Elasticsearch Azure Plugin
In most of our cases, we are behind a corporate proxy, and we perform the offline installation.
We download the Azure Repository Plugin
wget https://artifacts.elastic.co/downloads/elasticsearch-plugins/repository-azure/repository-azure-7.7.1.zip \
 -O /tmp/repository-azure-7.7.1.zip
After the plugin is available, we install it.
[vinh@rhel ~]$ sudo /usr/share/elasticsearch/bin/elasticsearch-plugin install file:///tmp/repository-azure-7.7.1.zip
-> Installing file:///tmp/repository-azure-7.7.1.zip
-> Downloading file:///tmp/repository-azure-7.7.1.zip
[=================================================] 100%
@@@@@@@@@@@@@@@@@@@@@@@@@@@@@@@@@@@@@@@@@@@@@@@@@@@@@@@@@@@
@     WARNING: plugin requires additional permissions     @
@@@@@@@@@@@@@@@@@@@@@@@@@@@@@@@@@@@@@@@@@@@@@@@@@@@@@@@@@@@
* java.lang.RuntimePermission setFactory
* java.net.SocketPermission * connect,resolve
See http://docs.oracle.com/javase/8/docs/technotes/guides/security/permissions.html
for descriptions of what these permissions allow and the associated risks.

Continue with installation? [y/N]y
-> Installed repository-azure
Plugin Configuration
The tricky part is the elasticsearch.yml configuration. The Elasticsearch documentation is complete but lacks IMHO
often good examples for a quick setup. With the plugin installed, we can now set up Elasticsearch to use the new storage.
Some settings already default, but for completeness and clarity, we also list it in the following configuration.
# --------------------------------- Azure Storage ------------------------------
azure.client:
  default:
    timeout: 10s
    max_retries: 7
    endpoint_suffix: core.windows.net
    # must be add to keystore
    # account:
    # key:
    proxy:
      host: proxy-vinh.ist-drin.com
      port: 4711
      type: http
Working in corporate environments with secure networks, also requires that the Azure Plugin needs to go over the proxy to connect to the cloud storage.
As you can see the account and key is mandatory, but is only permitted in the keystore. In your Azure account,
go to Keys and take a look at the connection string. This connection string provides all details for the configuration.
If you dissect this one-liner, you have the following information
DefaultEndpointsProtocol=https;
AccountName=cinhtau;
AccountKey=super-secret-key-replaced;
EndpointSuffix=core.windows.net
The account name and key are mandatory for the plugin to perform the snapshot. We add settings to elasticsearch keystore.
export ACCOUNT_KEY='super-secret-key-replaced'
echo cinhtau | sudo /usr/share/elasticsearch/bin/elasticsearch-keystore add --stdin azure.client.default.account
echo $ACCOUNT_KEY | sudo /usr/share/elasticsearch/bin/elasticsearch-keystore add --stdin azure.client.default.key
Repeat this for every node in the Elasticsearch cluster. Elasticsearch needs to be restarted after the configuration.
Register Azure Repository
With the settings in place, you can create a repository in the Kibana console. For clarity, the container name is the default name. You can use or override any container name, that Azure allows you to create.
PUT _snapshot/azure-kibana
{
  "type": "azure",
  "settings": {
    "container": "elasticsearch-snapshots",
    "chunk_size": "32MB",
    "compress": true
  }
}
The repository validation will create some test files on the Azure Storage container. These contents are in the storage explorer visible.

If you have no errors in the Elasticsearch logs, you can query all repositories.
GET /_snapshot/_all
In the Kibana console, you should see this JSON response.
{
  "azure-kibana" : {
    "type" : "azure",
    "settings" : {
      "container" : "elasticsearch-snapshots",
      "compress" : "true",
      "chunk_size" : "32MB"
    }
  }
}
Take a Snapshot
In the Kibana console, we create a snapshot named snapshot_2. The indices can also be an alias. We simply take the
.kibana alias.
PUT /_snapshot/azure-kibana/snapshot_2?wait_for_completion=true
{
  "indices": ".kibana",
  "ignore_unavailable": true,
  "include_global_state": false,
  "metadata": {
    "taken_by": "cinhtau",
    "taken_because": "POC for customer"
  }
}
After only a few seconds, you can see this response.
{
  "snapshot" : {
    "snapshot" : "snapshot_2",
    "uuid" : "iCL1jnQmTrOLUCKVE69P2Q",
    "version_id" : 7070199,
    "version" : "7.7.1",
    "indices" : [
      ".kibana_3"
    ],
    "include_global_state" : false,
    "metadata" : {
      "taken_by" : "cinhtau",
      "taken_because" : "POC for customer"
    },
    "state" : "SUCCESS",
    "start_time" : "2020-06-13T12:44:56.904Z",
    "start_time_in_millis" : 1592052296904,
    "end_time" : "2020-06-13T12:44:59.505Z",
    "end_time_in_millis" : 1592052299505,
    "duration_in_millis" : 2601,
    "failures" : [ ],
    "shards" : {
      "total" : 1,
      "failed" : 0,
      "successful" : 1
    }
  }
}
Verify the snapshot by querying all snapshots in the repository.
GET /_snapshot/azure-kibana/_all
The response:
{
  "snapshots" : [
    {
      "snapshot" : "snapshot_2",
      "uuid" : "iCL1jnQmTrOLUCKVE69P2Q",
      "version_id" : 7070199,
      "version" : "7.7.1",
      "indices" : [
        ".kibana_3"
      ],
      "include_global_state" : false,
      "metadata" : {
        "taken_by" : "cinhtau",
        "taken_because" : "POC for customer"
      },
      "state" : "SUCCESS",
      "start_time" : "2020-06-13T12:44:56.904Z",
      "start_time_in_millis" : 1592052296904,
      "end_time" : "2020-06-13T12:44:59.505Z",
      "end_time_in_millis" : 1592052299505,
      "duration_in_millis" : 2601,
      "failures" : [ ],
      "shards" : {
        "total" : 1,
        "failed" : 0,
        "successful" : 1
      }
    }
  ]
}
Our double-check in Azure:

The snapshot mechanism creates the indices folder and the index.latest file.
Summary
Using Microsoft Azure Storage for Backups with Elasticsearch is easy and quick if you follow this example. Also, take into consideration that you can set up on Azure retention policies for the backups.